Editing
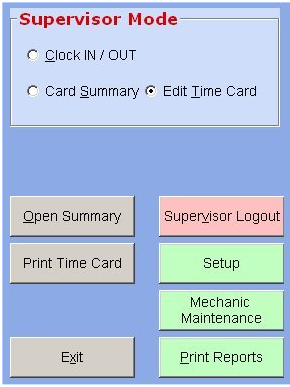
To edit a Timecard you must be in Supervisor Mode.
- Select the Edit Time Card option.
- Click the technician's tab that you want to edit.
- The
Editing Timecards screen displays.
- Use the Mechanic drop-down
list to select the technician's timecard.

- Use the Prev Day/Next Day buttons to select the date
you want to edit.
- Use the table to edit the date.
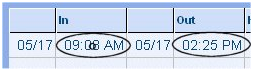
- In and Out are used for time in and time out.
- Hrs is hours punched in for a specific task.
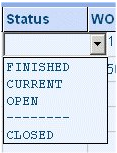
- Status represents the timecard job state
(current, open, finished or clsoed).
- WO# is the work order number.
-
Vehicle Info contains plate #, year, make and
model.
- Name contains the customers name.
- G#
contains the work group number.
- Group is the
work group name.

- Double-click inside the In/Out fields to display the
date the technician punched in or out.
- Double-click inside the Status field
and a drop-down box displays with status
options.
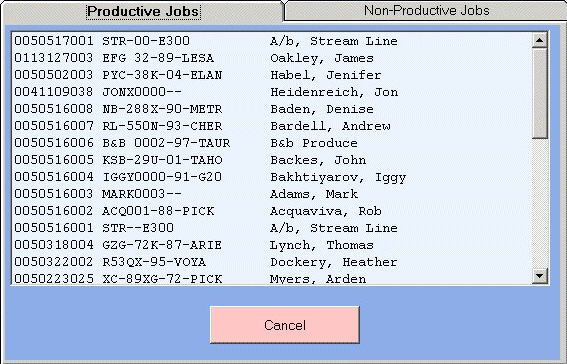
- Double-click inside the WO# field and
a list of open tickets displays. Re-select WO#
to edit or select the tab to select a
Non-Productive Jobs.
- Double-click inside the G# field to
display a drop-down box with various groups to
select from.
- To Add or Remove a line in the
table, use the
Insert/Delete Line buttons.
- Use the Reason for line edit to include a note as to
why this Timecard was edited.
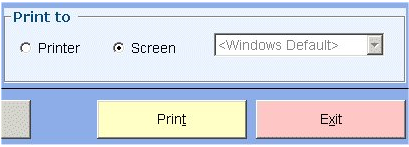
- Use the Print to section to select your printing
option. Either print to screen or to a printer.
- Use the After Card Prints section to select your next move,
either Stay on the same day, move to the Next mechanic or
Stay on Same Mechanic, move to the Next day.

- Click Save or
Close Out when editing is complete.